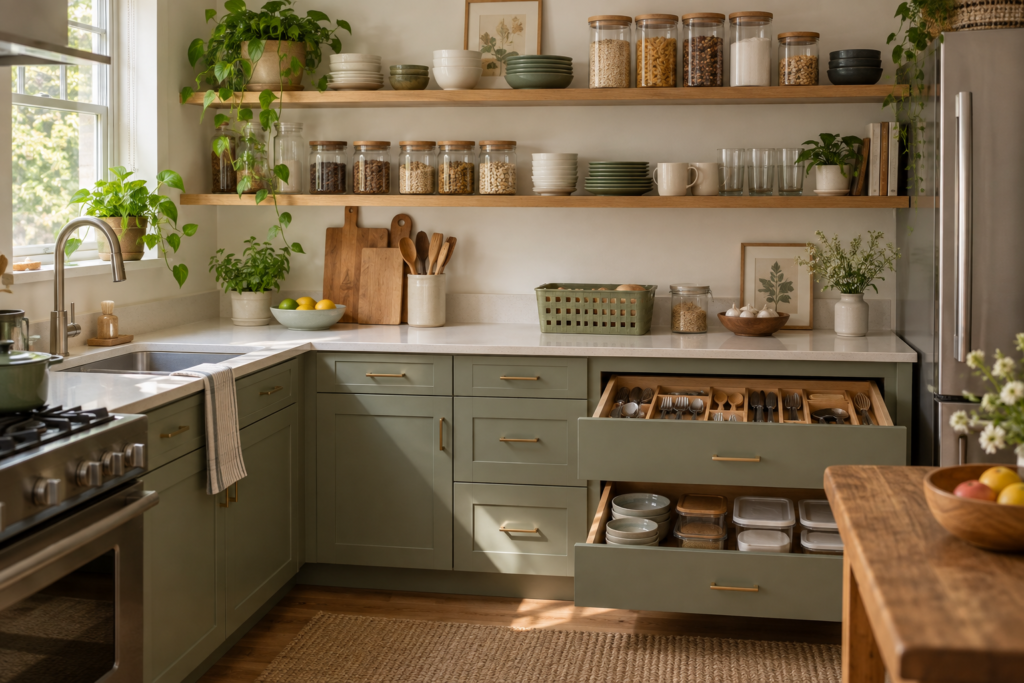
When comparing baking tray storage options, choose bakeware storage by the shapes you need to retrieve. Adjustable upright racks can suit mixed flat trays, fixed dividers work for predictable groups, and shallow horizontal stacks may be better for deep nesting tins. Pull-out storage can improve access in suitable cabinets but needs careful installation and clearance checks. Compare usable spacing and the removal path rather than the advertised number of slots.
Bakeware organizers range from simple freestanding dividers to fitted cabinet systems. The price and complexity vary, but the central question remains the same: can you remove the piece you want and return it without disturbing an unrelated pile? A sophisticated organizer that does not fit your muffin tin is less useful than a simple arrangement that handles the daily collection comfortably.
This guide compares formats and buying criteria rather than untested product rankings. Use the baking-tray setup guide to establish your collection and location first. If you already own a rack, the troubleshooting guide can help determine whether a replacement is necessary or a different assignment would solve the problem.
Define the collection the organizer must hold
Separate flat sheets, deep pans, cooling racks and specialty tins. Count the pieces that genuinely belong in the intended zone and identify those used most often. A rack designed around the full collection may become unnecessarily large if an occasional oversized roasting pan determines every dimension.
Measure the widest profile of each category, including rims, handles, feet and bulges. A muffin tin can occupy more slot width than its flat edge suggests. Cooling-rack projections can catch even when the rack itself is thin. These details are more useful than a general description such as “standard baking trays.”
Decide whether one format needs to handle everything. A combination of upright sheets and a shallow stack of deep tins may be more practical than an all-purpose rack. Mixed storage is not a compromise in quality; it can reflect meaningful differences in the objects and the way you use them.
Compare the main storage formats
| Format | Useful for | Key check | Trade-off |
|---|---|---|---|
| Adjustable freestanding rack | A mixed collection of trays and tins | Divider range and intended support | Outer frame consumes cabinet space |
| Fixed vertical dividers | Consistent flat pieces | Usable slot width around rims | Less flexible when the collection changes |
| Fitted pull-out storage | Deep cabinets with difficult rear access | Installation, opening and loaded travel | More setup and compatibility requirements |
| Shallow horizontal stacks | Deep nesting tins | Care instructions and access to lower pieces | Several items may need handling |
| Separate shelf positions | Large or awkward occasional bakeware | Comfortable handling and clear identification | Uses more individual footprint |
Adjustable freestanding racks
An adjustable rack lets you allocate wider sections to deep or projecting shapes and narrower sections to flat sheets. This can be useful for a varied collection, particularly when the problem with an existing rack is equal spacing that does not match the bakeware. The important specification is the supported adjustment range, not simply the word adjustable.
Inspect how the dividers connect and whether the chosen configuration is included in the manufacturer’s instructions. Check the internal space left after accounting for the outer frame. A large overall width can still provide less usable storage than expected if the supports are thick or the adjustment positions are limited.
Test the partly empty arrangement. A rack should support the pieces you leave behind when several trays are in use. If the design depends on the entire collection leaning together, the organizer may not provide the independent access you expected. Compare real support and retrieval rather than a photograph of every slot filled.
Fixed vertical dividers
Fixed dividers can provide clear, stable sections when the collection has predictable dimensions. They may suit several similar baking sheets or a cabinet designed around a consistent set. The limitation appears when one rim, handle or specialty shape needs more width than the fixed gap provides.
Measure the narrowest usable opening through the full removal path. A slot can be wide enough at the back but restricted by a front rail or support. Include room for fingers and the angle needed to lift the tray. A piece that can be inserted only with careful manoeuvring may become frustrating in everyday use.
For fitted dividers, consider how future bakeware changes would be handled. You do not need to anticipate every possible purchase, but avoid designing all sections around a single unusually thin tray if the household commonly uses broader tins. A combination of narrow and wider sections can be more adaptable when the furniture design permits it.
Pull-out cabinet storage
A pull-out system brings stored pieces toward the cabinet opening and can improve access in a deep space. However, it introduces installation, slide travel and door-clearance requirements. Check the cabinet dimensions and the manufacturer’s instructions carefully rather than assuming a unit that fits the interior will operate through the opening.
Consider the loaded movement. Trays, handles and dividers must clear hinges and neighbouring furniture throughout the travel, not only when the unit is closed. The cabinet and mounting method must be suitable for the intended use and documented loads. Do not treat a pull-out accessory as a way to increase the furniture’s capacity beyond its specifications.
Also assess the practical benefit relative to simpler options. If the daily bakeware already sits near the front and comes out easily, a fitted mechanism may add little convenience. If rear access is the real obstacle, the extra installation work may be justified. The decision should follow a demonstrated access problem.
Horizontal stacking and nesting
Horizontal storage is often useful for deep tins that nest in a compact footprint. It may require no new organizer, especially when the collection is modest. Keep the stack shallow enough that retrieving the regular piece does not involve lifting several unrelated items, and follow the bakeware manufacturer’s advice about contact and protection.
Do not assume all finishes can be stored together in the same way. If separators or other protection are recommended, include their thickness and handling in your space calculation. A stack that works only after carefully rebuilding several protective layers may be less convenient than individual supported positions for the frequently used pieces.
The broadest item does not automatically belong at the bottom if that makes it difficult to reach every day. Consider splitting the collection by use. A daily tray can stand separately while occasional deep tins remain nested. This keeps the storage method aligned with cooking rather than allowing shape alone to dictate priority.
Individual shelf positions and secondary storage
Some bakeware is too large or irregular to fit efficiently into the main organizer. An occasional roasting pan, lidded baker or specialty mould may deserve its own suitable shelf position. This avoids making the entire daily collection work around one exceptional shape.
Keep the secondary position identifiable and accessible enough for its frequency of use. Store associated components together when that is appropriate and follows their care guidance. A pan moved out of the daily zone should not become a mystery item hidden behind unrelated boxes. Clear assignment prevents unnecessary replacement purchases later.
For broader placement decisions, consult the whole-home storage reset guide. It can help distinguish prime daily space from occasional storage without treating every kitchen accessory as equally urgent to reach. The aim is a coherent household layout, not simply an emptier cupboard photograph.
Material and construction details worth checking
Look at contact points, edges and supports rather than using material names as a quality ranking. A listing that says metal, wood or plastic does not tell you whether the product’s dimensions, finish or construction suit your bakeware. Read the particular product’s instructions and inspect it when it arrives.
Check whether the platform or dividers have projections that could catch rims or cooling-rack wires. Consider cleaning access around joints and under the frame. A design that stores trays neatly but traps debris in an inaccessible corner may be more work to maintain than a simpler arrangement.
If the product includes protective coatings or pads, verify their intended use and care. Do not infer universal compatibility with every bakeware finish. The organizer and the bakeware each have their own requirements, and a useful recommendation should respect both rather than promising protection based only on appearance.
A worked comparison between two rack designs
Suppose a household has four flat sheets, one muffin tin and two cooling racks. Candidate A has seven fixed narrow slots. Candidate B has fewer adjustable sections and a slightly larger outer frame. At first, the seven-slot product appears to match the seven pieces exactly, but the muffin tin’s projecting profile does not fit comfortably in one slot.
Candidate B may provide a wider section for that tin and a separate supported group for the cooling racks. It could therefore be more useful despite the smaller nominal slot count. However, its larger footprint must still fit the cabinet and leave room to grip the trays. Flexibility does not override the need for an actual fit check.
These are illustrative designs, not tested products. The comparison shows why you should map each piece to a usable position before treating capacity claims as equivalent. A seven-piece collection does not necessarily need seven equal slots, and a rack with seven slots does not necessarily hold those seven pieces well.
Create a shortlist using the complete cost and fit
Keep a simple comparison sheet with one row per candidate and the same measurements for each. Mark unavailable information as unknown rather than substituting an estimate. This is especially useful when one listing gives only external dimensions and another provides a detailed diagram. The more detailed listing may let you rule a product in or out confidently, while the less detailed one requires a question to the seller. Comparing evidence consistently is more useful than collecting a long list of visually similar racks.
Record the required dimensions, intended layout and unresolved problem before comparing listings. For each candidate, note internal spacing, external footprint, assembly or mounting needs and the documented limits. Confirm that the selected variant is the one shown in the specification diagram, especially when a retailer combines several sizes on one page.
Consider delivery, returns and any necessary installation components in your own market. A low initial price may not represent the complete setup if fittings or compatible parts are separate. Conversely, a more expensive product may add features that do not address your particular access problem. Compare useful function rather than price in isolation.
Do not rely on a claim that a rack is universal. Ask which dimensions and shapes make it suitable for your trays, and seek missing information before ordering. A recommendation should be conditional: useful for this collection and cabinet, unsuitable when the rims, depth or opening differ beyond its documented fit.
Test the chosen arrangement before committing every piece
Start with a small representative group: one flat tray, the awkward specialty tin and a cooling rack. Confirm support and removal, then add the rest within the organizer’s instructions. This sequence makes it easier to identify a conflict than filling the rack completely and trying to diagnose several catches at once.
Use the cabinet through a normal cooking and cleaning cycle. Check it when full, when daily pieces are absent and when everything returns. Keep the order information and packaging until you know the selected variant works. A successful trial demonstrates comfortable access in changing conditions, not just a tidy first arrangement.
Sources and practical checks
Where nesting is permitted, check surface protection too. Nordic Ware Bundt care guidance recommends a light fabric layer between stacked Bundt pans. That is a named example, not a rule for every baking tray; consult your own cookware instructions.
Frequently asked questions about baking tray storage
Is adjustable spacing always worth choosing?
It is useful when the collection includes different profiles or may change, but a fixed divider can work well for consistent pieces. Compare the actual supported range and the frame’s footprint. Adjustment has value only when it creates positions you need.
Can a lid rack store baking trays?
Only if the product is intended for that use and its dimensions and documented limits suit the bakeware. A similar shape in a photograph does not establish compatibility. Check the tray’s rim, weight, height and removal path before assigning it to the rack.
Should I buy enough slots for every piece separately?
Not necessarily. Some compatible pieces may work in a supported group, while awkward shapes may need their own section. The useful unit is a comfortable retrieval position, not a universal one-piece-per-slot rule. Avoid grouping items that catch or require excessive handling.
Are fitted systems better than freestanding racks?
They can solve particular access problems but require suitable installation and cabinet compatibility. A freestanding rack may be enough for a shallow, accessible zone. Choose the level of complexity that produces a real improvement in your routine.
What matters most for a small kitchen?
Preserve access to the pieces used most often and move occasional oversized bakeware when appropriate. Measure the opening as well as the interior. Explore the kitchen and pantry hub for neighbouring zones that may offer a better location than a crowded cabinet.
For the wider room layout, explore our small kitchen ideas and keep cabinet access, preparation surfaces and this storage area working together.