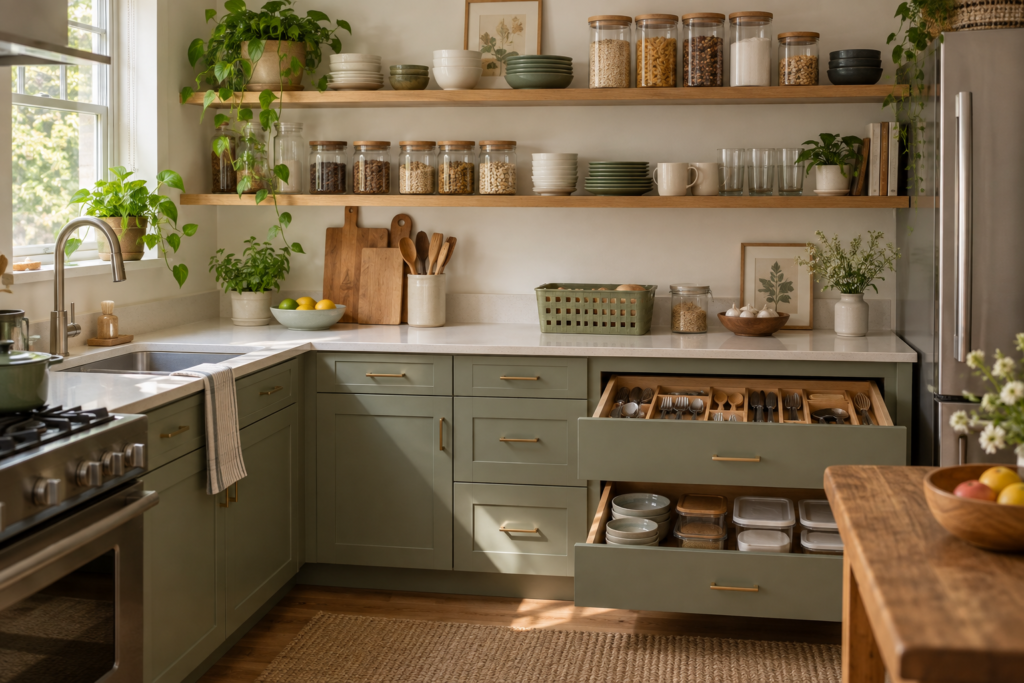
For kitchen shelf risers, measure the cupboard’s usable height, width, depth, and opening, then measure the items intended for both levels. Choose a riser whose platform and legs leave each group accessible, follow its assembly and load instructions, and test retrieval with the cupboard normally stocked. Added height is useful only when both levels remain practical to use.
What is a kitchen shelf riser?
A kitchen shelf riser is a freestanding platform placed on an existing shelf or cupboard base to create a second storage level. It can use otherwise empty vertical space above short items. It does not increase the cupboard’s external size, and the platform, legs and items on both levels must leave a usable removal route.
Choose it for a specific group such as mugs or small bowls. A riser is different from a replacement cabinet shelf and from a pull-out drawer: it occupies the existing space and adds supports within it. Compare shelf riser formats if the basic layout seems suitable; use the shelf riser troubleshooting guide if an existing platform blocks access.
A shelf riser creates another surface within an existing cupboard. It can separate mugs from plates or make short jars easier to see, but it also adds legs, a platform, and new clearance restrictions. A riser that fits the cupboard can still make storage worse if it blocks the plate stack beneath it or leaves no room to lift a mug from the upper level.
This guide explains the setup process with measured examples and realistic trade-offs. It does not claim hands-on testing of specific products. For the wider room layout, explore the kitchen and pantry hub. Begin with one cupboard section so you can test the idea before buying risers for every shelf.
1. Decide whether a riser solves the actual problem
Look for a cupboard where short items leave usable space above them and where a second accessible level would separate useful categories. A stack of small plates beneath a suitable platform with mugs above is one possible arrangement. It works only if the plates can be removed without lifting the riser and the mugs can be grasped without striking the shelf above.
If your main difficulty is reaching deep rear items, a removable bin or another access method may be more appropriate. If the cupboard already has adjustable shelves, consider whether changing an existing shelf position within the furniture’s instructions solves the problem more simply. Do not buy a riser solely because you can see an empty vertical gap.
Choose a defined group for each level
Identify exactly what will sit below and above the riser. “More kitchen things” is too vague to guide a purchase. “Small side plates below and daily mugs above” lets you measure the relevant heights and retrieval movements. Include the quantity present after washing up, not just the pieces currently in the cupboard.
Keep the proposed groups manageable. A riser should not encourage a taller or heavier stack than is appropriate for the furniture, product, and users. Follow rated capacities and the relevant instructions. Appearance and material alone do not establish how much a shelf insert can support.
2. Measure the cupboard and the contents
Measure the clear height between the existing shelves, the usable width, and the depth. Include hinges, shelf supports, and the door frame. Measure the opening separately from the interior. A wide insert might occupy the shelf but be difficult to install or remove through a narrower doorway.
Next, measure the tallest natural arrangement intended for the lower level. For plates, that means the actual stack you plan to store. For jars, include lids. For the upper level, measure the tallest item and consider the space needed to grasp and lift it. Physical fit and comfortable access are separate requirements.
Use a two-level clearance calculation
Think of the cupboard height as three parts: the space beneath the platform, the platform’s own thickness, and the space above it. The riser’s advertised overall height may not equal the lower usable clearance. Feet, rails, and the platform structure can affect that number, so check the manufacturer’s diagram.
Suppose a cupboard has 36 cm of usable vertical space. A riser whose platform sits 16 cm above the shelf leaves roughly 20 cm above the platform before its precise construction and access needs are considered. If the upper item is 19 cm tall, that may leave too little room to lift it comfortably. These are illustrative numbers, not recommended dimensions; test the actual item and product.
Check the space between the legs
The outer width of a riser does not tell you the clear width beneath it. Inward-facing legs or crossbars can reduce the usable opening. A plate stack may fit under the platform in height yet fail to pass between the supports. Compare the widest part of the lower item with the full removal path.
Measure platform depth too. A shallow insert may suit small jars but not fully support larger crockery. Do not judge support from a lifestyle photograph alone. The manufacturer’s stated intended use and dimensions should guide what belongs on the platform, and the arrangement should remain stable during ordinary retrieval.
3. Plan each level around how items are used
Plates and bowls
Separate categories only when each can be retrieved independently. A riser can prevent one type of dish from being stacked on another, but it should not make the lower stack difficult to lift. Keep the quantity realistic for everyday use and put suitable occasional pieces elsewhere if necessary.
Check the widest dish and the tallest stack, not just a single plate. Include the space needed for your fingers. If the lower compartment requires sliding a heavy stack along the shelf before lifting it, reconsider the riser’s height, leg positions, or the number of dishes stored there.
Mugs and glasses
Consider handles, rims, and the grip used to remove each piece. Mug handles increase width beyond the body, so a neat row of cylinders in a diagram may not reflect your collection. Leave enough room that taking one mug does not knock its neighbour or contact the riser above.
For fragile items, avoid an arrangement that relies on balancing pieces at the edge or squeezing them beneath a platform. Follow the riser’s intended use and keep the layout within its supported dimensions. A smaller accessible group can be more practical than filling every visible part of the surface.
Jars and packaged ingredients
A riser or tiered organizer may improve visibility when short jars disappear behind taller items. Keep labels readable from your normal viewing angle and verify that rear items can be removed without unloading the front. A flat platform and a stepped organizer create different access patterns, so choose the shape that fits the actual problem.
If the cupboard holds food, its location and the food’s storage instructions still matter. An organizer changes access, not the environmental suitability of the cupboard. For a broader food-storage plan, use the pantry-free setup guide and keep cleaning supplies in a separate appropriate area.
4. Compare the riser formats
| Format | Useful when | Main limitation | Measure or verify |
|---|---|---|---|
| Fixed rectangular riser | One measured group needs a stable second level | Height and leg positions cannot change | Lower opening, platform footprint, load instructions |
| Expandable riser | The useful width varies or needs adjustment | Overlap and extension can affect the surface | Supported range and configuration requirements |
| Corner riser | A suitable corner can hold a defined category | Front access may remain restricted | Dish diameter and the full removal path |
| Manufacturer-approved stacking system | More than one level is explicitly supported | Needs correct connections and sufficient total height | Permitted combinations, assembly and loading |
Fixed risers
A fixed riser simplifies the decision when its exact dimensions match the cupboard and contents. There is no width adjustment to set, although assembly may still be required. Compare the clear opening beneath the platform with your lower group, and check that the feet land on a sound, suitable surface.
Do not assume that two products with the same outer width provide the same usable space. Support positions, platform thickness, and edge shapes can differ. Look for a diagram or instructions that resolve those details, especially when your cupboard leaves little spare clearance.
Expandable and stackable designs
An expandable design can adapt its width, but it still has a supported operating range. Follow the specified overlap and configuration rather than extending it as far as physically possible. Check whether the surface remains suitable for the intended items at the chosen width and whether the instructions give configuration-specific loading limits.
Stack products only when the manufacturer supports that exact combination and provides the required assembly method. For example, IKEA’s VARIERA shelf-insert page describes connecting compatible inserts with included screws. That is product-specific guidance, not permission to stack unrelated risers or improvise connections.
5. Assemble and position according to the instructions
Read the assembly instructions before loading the product. Check that the required parts are present and use the specified connections. Position the riser on a suitable, sound shelf and confirm that all feet make the intended contact. Do not compensate for an uneven or damaged support by packing random objects beneath the legs.
Check the cupboard shelf’s own capacity as well as the riser’s. Adding a second platform does not increase the strength of the original shelf. Include the organizer’s weight and everything placed both beneath and above it when considering the furniture’s loading requirements. If capacity information is unclear, obtain the relevant guidance instead of guessing from appearance.
Load gradually and keep the layout observable
Place the planned lower group first and test its removal. Then add the upper group within the instructions. Watch whether retrieving one item moves the riser, whether handles catch, and whether the door closes freely. If something shifts or rocks unexpectedly, unload the affected area and investigate before continuing.
Keep important assembly points accessible for inspection and cleaning. An insert that can only be removed by dismantling half the cupboard may still be usable, but that is a maintenance cost to weigh. Simpler configurations are often easier to keep clean and adjust when crockery or household routines change.
6. Test at the cupboard’s fullest ordinary state
After washing up, return the full planned quantity. Take one item from each part of both levels and put it back. Check rear corners, wide handles, and the lower stack. A layout that works only when several dishes are in use elsewhere does not match the cupboard’s normal capacity requirement.
Ask another household member to use the cupboard without coaching. If they lift the riser to reach a plate or leave a mug on the counter because its spot is awkward, the layout needs adjustment. Move a category, reduce the stack, or choose a different format rather than adding a label to an inaccessible arrangement.
Review the benefit after several meals
Notice whether the riser reduced the number of objects moved to reach an item. Also consider cleaning: can you remove the groups and wipe the shelf without a complicated sequence? The benefit should appear in normal kitchen tasks, not only in a tidy photograph taken immediately after setup.
If the result creates new obstructions, remove the riser and compare the original arrangement with a different shelf position or category boundary. Buying another insert is not the automatic next step. The whole-home reset guide can help decide whether surplus or occasional items belong in another suitable location.
Common setup mistakes to avoid
Measuring only the outer footprint: this misses lower opening width and upper retrieval clearance. Planning with one plate instead of the full stack: this underestimates everyday height. Assuming stackability: use only combinations explicitly supported by the manufacturer and their specified connections.
Ignoring the original shelf: it still supports the total load. Choosing a riser for hidden rear stock: extra height may not solve depth access. Overfilling the new level: a clear second surface should not become a reason to retain an unmanageable quantity in the same cupboard.
Questions about kitchen shelf risers
How much space do I need above a shelf riser?
Enough for the tallest intended item and the movement required to grasp and remove it, following the product’s instructions. There is no universal clearance for every mug, jar, or dish. Measure the actual item and test it in the planned configuration.
Can I put heavy plates on a riser?
Only within the intended use and loading instructions of both the riser and the cupboard shelf. Do not infer capacity from material or appearance. Check the exact product guidance and keep the arrangement practical to retrieve without moving or destabilizing the insert.
Can I stack two kitchen shelf risers?
Only if the manufacturer supports the exact combination and provides the relevant connection and loading instructions. Products that happen to sit on top of one another are not automatically designed to function as a stack.
Is a shelf riser better than moving an adjustable shelf?
It depends on the categories and furniture. Moving an existing shelf within its supported positions may solve the height problem without another product. A riser can be useful when only part of a shelf needs a second level.
What should I check before buying?
Check the cupboard opening, internal dimensions, lower clear opening, upper access, leg positions, supported load, assembly, and cleaning instructions. Compare the exact model available in your country. Our buying guides provide a wider storage checklist.