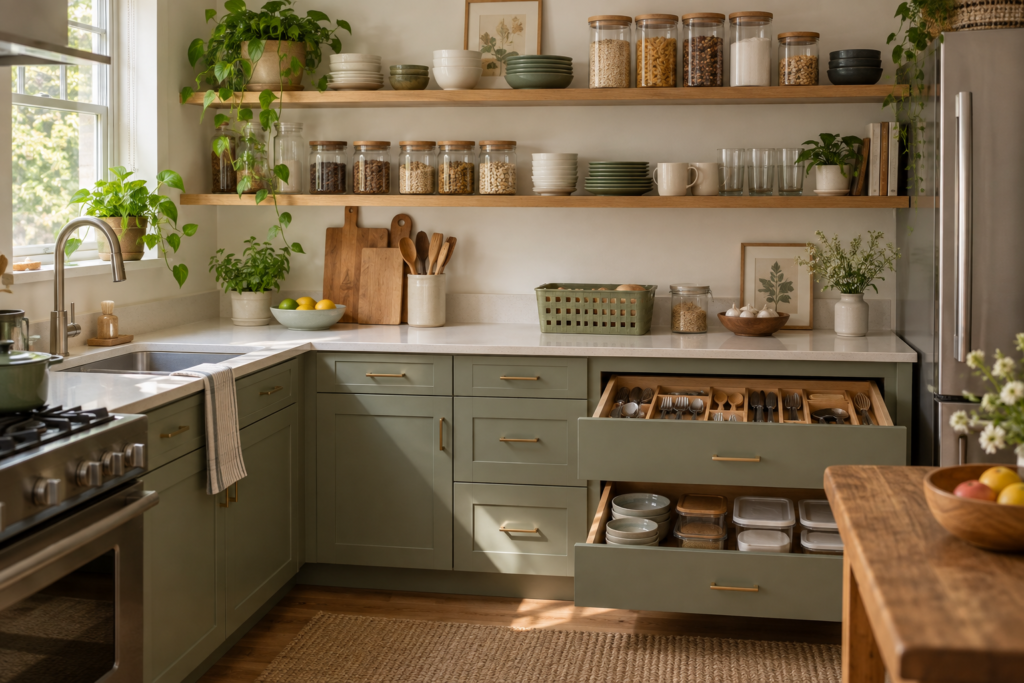
For baking tray storage, set up baking-tray storage by grouping trays, tins and cooling racks according to shape and frequency of use. Test whether each piece can stand securely in a suitable divided cabinet section or needs a shallow horizontal stack. Keep daily pieces accessible, store occasional oversized items separately, and measure the removal path before buying a rack.
Baking trays can turn a generous cupboard into an awkward storage space. Their broad surfaces cover smaller tins, their rolled edges catch on one another, and a cooling rack can hook into the piece beneath it. The usual response is to stack everything more carefully, but a stable-looking pile may still require lifting most of the collection to reach one tray.
This setup starts with the way each piece comes out and goes back. It works for a mix of flat sheets, rimmed trays, muffin tins, roasting pans and cooling racks without assuming they all belong in one upright organizer. Use the kitchen and pantry hub to connect this zone with nearby preparation supplies and serving pieces.
Gather the pieces by their real jobs
Bring together clean, cool bakeware from the cupboards and other normal storage locations. Separate items that are currently in use and account for them before deciding the collection fits. Do not design a cabinet around the apparent empty space while the largest roasting tin is elsewhere. The layout needs to work when the full collection has returned.
Group the pieces into flat trays, deep tins, cooling racks and specialty shapes. Within those groups, identify the items used most frequently. A shallow everyday tray and a deep holiday roasting pan may look similar from the cupboard opening, but they do not deserve equal priority if their use differs substantially.
Inspect the pieces according to their own care guidance. Organization is a good opportunity to notice a damaged edge, a loose fitting or a surface that needs further attention, but do not assume a storage method can correct a product’s condition. Keep any questionable item out of the active arrangement until its suitability has been resolved.
Decide what belongs in the daily baking zone
Choose the trays and tins that support your actual routine. A person who bakes several batches at once may reasonably need multiple similar trays. Another household may use only one sheet regularly and keep several duplicates from old sets. The useful count comes from the tasks you perform, not a rule that every kitchen should own the same amount.
Separate occasional oversized items if they dominate the available opening. A large roasting pan can require a different storage location from thin baking sheets. Keeping it elsewhere as a clearly identified piece may make the daily zone much easier to use. Do not hide it so thoroughly that it is forgotten and purchased again when needed.
Keep accessories together only when that relationship helps. A matching lid or insert may belong with its roasting pan, while unrelated cooling racks may need a separate section to avoid catching tray rims. The category should explain a useful retrieval action rather than merely grouping everything made from similar material.
Measure the cabinet and the movement path
Measure the usable width, depth and height of the intended space, including hinges, shelf supports and the cabinet opening. Then measure the largest piece in each proposed group. Include handles, rolled rims and projecting corners. The overall cabinet interior may be large enough even when the opening makes a tray difficult to remove.
Rehearse the movement using a real tray before adding an organizer. Notice whether it needs to tilt or rotate to clear the door. If the layout requires a very precise angle, consider whether other household members can repeat it easily. Everyday storage should not depend on remembering a narrow sequence of movements around adjacent dishes.
For vertical storage, check the tray’s standing height and the space needed to lift it clear of any retaining edge. For horizontal storage, check whether you can grip the sides of the stack. A rack that fits tightly from wall to wall may leave no room for hands even though the tray dimensions themselves appear suitable.
Choose vertical storage where the shapes cooperate
Upright storage can make flat trays individually accessible. Instead of lifting a pile, you slide out the piece you want. A suitable divider helps prevent the remaining trays from leaning together when one is removed. The benefit is strongest when the pieces have compatible profiles and the cabinet has enough height and depth for the intended orientation.
Do not assume every thin-looking item will stand well. Cooling racks may have projecting feet or wires, and some trays have deep rolled edges. Test these shapes against the divider spacing and support. A slot that accepts the flat centre may still catch the rim during removal.
Keep the collection within the organizer’s intended use and documented limits. If a piece is too heavy, too broad or awkwardly balanced for the selected rack, give it another position. Forcing one exceptional pan into the same arrangement can make the whole row harder to use.
Use shallow horizontal stacks for deep or nesting tins
Deep roasting tins and some cake tins may nest efficiently when their care instructions permit that storage method. Keep the stack shallow enough that the frequently used piece does not sit beneath several occasional ones. Nesting saves volume, but every layer adds another handling step when the lower item is needed.
Follow the bakeware manufacturer’s advice about protecting finishes and storing pieces together. Do not assume that direct contact, a particular liner or an improvised separator is appropriate for every surface. If protection is required, choose a suitable method that remains easy to inspect and does not create a bulky, confusing stack.
Put the regular piece on top when its shape allows, or split the stack into two functional groups. A daily roasting tin may belong beside the upright trays while occasional cake tins occupy a separate shelf. A mixed arrangement can provide better access than trying to make the entire collection vertical or entirely nested.
| Item group | Layout to test | Important check |
|---|---|---|
| Flat baking sheets | Upright divided row | Rim clearance and support when a tray is removed |
| Deep roasting tins | Shallow horizontal stack or individual shelf position | Grip space and access to the most-used tin |
| Cooling racks | Separate supported section | Projecting feet and wires catching neighbours |
| Muffin or specialty tins | Own section based on shape | Bulges and rims that need wider spacing |
| Occasional oversized pieces | Clearly identified secondary location | Comfortable retrieval without displacing daily items |
Position the daily pieces in the easiest order
Arrange the row around frequency and clearance rather than only by size. The tray used every evening should not sit behind a broad occasional piece simply because the height order looks pleasing. Place frequently used pieces where the opening gives the most direct route, then assign less common items to the remaining suitable positions.
Avoid making the front position a catch-all gap. If several small accessories accumulate there, they can obstruct the very retrieval path you created. Give baking paper, small cutters and other unrelated supplies their own appropriate location. The tray zone should remain understandable when someone other than its designer puts things away.
If the cabinet is shared with dishes or food containers, leave a clear boundary between categories. This does not require an expensive divider. It requires enough definition that a returning tray does not slide into a plate stack or push the container lids aside. The lid-storage guide can help organize that neighbouring collection.
A worked setup for a mixed collection
Imagine a kitchen containing three flat baking sheets, two deep roasting tins, a muffin tin and two cooling racks. Everything currently sits in one horizontal pile. The everyday baking sheet is often at the bottom because its broad shape makes a convenient base for the other pieces.
The new layout gives the three sheets a supported upright row near the cabinet opening. The muffin tin receives a wider section because its profile does not fit the same narrow spacing. Cooling racks stand in a separate position where their feet do not hook into the sheets. The two roasting tins remain in a shallow stack beside the upright group, following their care instructions.
The household then rehearses removing each daily piece with the cabinet fully stocked. One cooling rack catches a divider, so its orientation changes before the arrangement is considered finished. The exercise shows why a complete trial matters: the initial measurements established fit, while the retrieval test revealed a shape conflict.
Make cleaning and return part of the setup
Put bakeware away only when it is ready for storage according to its care guidance. The storage area should not become a temporary destination for pieces still needing cleaning or other attention. A tray left halfway into a slot because it is not ready to put away can obstruct the whole row.
Keep the return action simple. If a tray must be placed into one exact narrow slot to avoid catching, consider whether a broader section or different order would work better. The system should tolerate normal variation in the way people handle clean bakeware without collapsing into a mixed pile.
Check the area during ordinary kitchen cleaning. Remove crumbs or debris using methods suitable for the cabinet and organizer materials, and inspect supports or fittings when accessible. Do not build a layout so tightly that the only way to clean the shelf is to dismantle a large interconnected structure.
Decide what to buy after the trial
A trial with an existing suitable divider or a non-load-bearing footprint sketch can reveal whether you need adjustable spacing, a lower retaining edge or a different cabinet location. Do not use a cardboard mock-up as a functioning support for bakeware. Its role is to help you understand dimensions and movement before making a purchase.
For a dedicated rack, check overall dimensions, usable slot spacing, assembly instructions and the range of items it is intended to support. Compare the exact product variant offered by your retailer. A rack photographed with thin sheets may not suit deep muffin tins or large roasting pans, even if a listing broadly calls it a bakeware organizer.
If no product meets the actual need, keep the simpler arrangement that already works. Buying a rack is not the final objective; reliable access is. The shelf-riser comparison can help if the better solution is separating short horizontal groups into accessible levels rather than storing everything upright.
Review the arrangement after real cooking
Include the person who normally unloads the clean bakeware in the review. A layout devised by the main cook can overlook the return process, particularly when several trays arrive together. Have that person put away the full collection without instructions and note any uncertainty. A clear wide section for the muffin tin or a separate cooling-rack position may remove the need for repeated explanations and make the cabinet easier to share.
Use the setup for the tasks it was designed to support: an ordinary evening meal, a baking session and a full return of clean pieces. Notice whether any item repeatedly lands outside its assigned section. That is useful evidence about fit, convenience or category clarity rather than proof that the household needs more labels.
If the same tray is difficult to return, inspect its rim and the neighbouring shapes. If the occasional roasting pan blocks daily access, move it. If the row becomes unstable when two sheets are in use, improve the support within the organizer’s intended configuration. These focused changes turn an initial layout into a dependable storage routine.
Sources and practical checks
Where nesting is permitted, check surface protection too. Nordic Ware Bundt care guidance recommends a light fabric layer between stacked Bundt pans. That is a named example, not a rule for every baking tray; consult your own cookware instructions.
Questions about baking tray storage
Should baking trays always be stored vertically?
No. Vertical storage can make flat pieces individually accessible, but deep or unusually shaped tins may work better in a shallow stack or separate position. Test support, clearance and the actual removal movement rather than choosing a direction for appearance alone.
Can cooling racks share a slot with baking sheets?
They may catch on tray rims or divider edges, depending on their shape. Try a separate section first and inspect projecting feet or wires. Keep them together only if both pieces remain easy to remove without pulling the other along.
Where should the largest roasting tin go?
Choose a suitable location based on how often it is used and how comfortably it can be handled. An occasional oversized tin does not need to control the daily tray layout. Keep its secondary location clear and identifiable so it remains easy to find when needed.
Do I need a custom cabinet insert?
Not necessarily. A freestanding organizer, suitable adjustable divider or shallow stack may solve the problem. Custom storage is worth considering only when the dimensions and routine justify it. First establish a layout that works with your actual bakeware.
What shows that the setup is successful?
You can remove the required piece without lifting an unrelated pile, and clean pieces return without forcing or rearranging the whole cabinet. The arrangement should also work when several trays are in use and the remaining row is partly empty.
For the wider room layout, explore our small kitchen ideas and keep cabinet access, preparation surfaces and this storage area working together.